Taking the leap to hike alone is one of the most rewarding decisions an outdoor enthusiast can make. However, the transition from group hiking to independent travel requires a fundamental shift in how you prepare. Without a partner to split the logistics, every aspect of solo backpacking trip planning falls entirely on your shoulders.
A successful solo trip is rarely the result of spontaneous action; it is built on a foundation of meticulous research. This guide provides a step-by-step blueprint to help you design a safe, manageable, and highly enjoyable first solo adventure, ensuring you hit the trail with absolute confidence.
The Core of Independent Preparation
Before looking at specific trails, it is essential to understand what comprehensive preparation actually entails.
Solo backpacking trip planning is the meticulous process of designing a wilderness route, calculating safe daily mileage, tracking weather patterns, and establishing emergency protocols for an independent hike. This systematic preparation minimizes risk by accounting for navigation, potential escape routes, and communication without relying on group support.
When you hike alone, a minor inconvenience can escalate quickly if you have not planned for it. Your itinerary is your primary safety net.
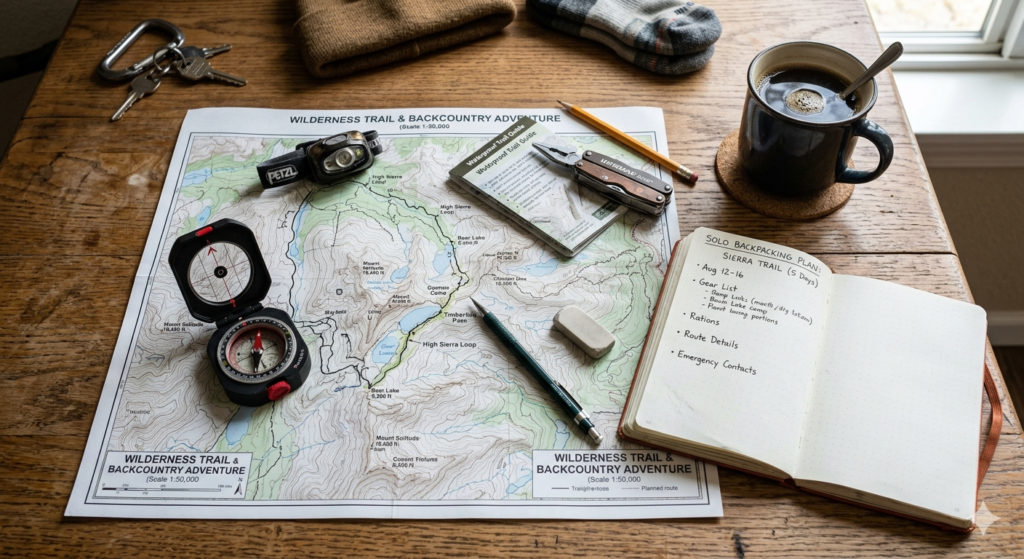
Step 1: Strategic Route Planning
The biggest mistake beginners make is attempting a highly ambitious route for their first solo outing. Your primary goal should be familiarizing yourself with the psychological experience of being alone, not crushing massive miles.
For your initial route planning, choose a trail you have already hiked with a group, or select a highly popular, well-maintained loop. Aim for a conservative mileage goal—usually 30% to 50% less than what you would hike with friends. This lower mileage gives you plenty of daylight to manage camp chores independently.
Most importantly, you must identify your bailout points. A bailout point is an intersecting trail, a logging road, or a shortcut that leads quickly back to civilization. If you twist an ankle or your gear fails, you need a pre-planned escape route that is shorter than completing your entire intended loop.
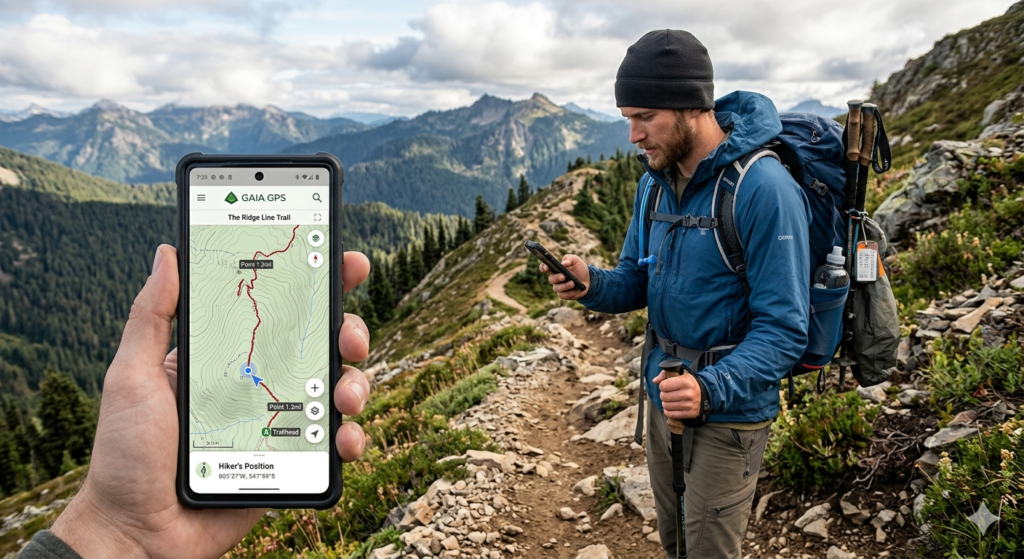
Step 2: Redundant Navigation Systems
When you are alone, getting lost is a serious emergency. You cannot rely on following the hiker in front of you. You must establish a redundant navigation system.
Your primary tool should be a digital GPS on your smartphone. Downloading your specific route for offline use using a reliable app allows you to see exactly where you are relative to the trail, even without cellular service.
However, electronics fail. Batteries die, and screens crack. Therefore, your secondary, non-negotiable tool is a waterproof paper map of the area and a baseplate compass. You must possess the basic skills to read the topography and orient yourself manually if your phone stops working.
Step 3: Advanced Weather Checking
Looking at the generic weather app on your phone for the nearest town is insufficient for backcountry travel. Mountains create their own microclimates, and temperatures can drop drastically with elevation.
Proper weather checking involves using specialized forecasting tools, such as the National Weather Service (NOAA) point forecasts or Mountain-Forecast.com. You need to check the exact elevation where you plan to sleep. Pay close attention to wind speeds, wind chill, and overnight lows to ensure your sleep system is rated adequately for the worst-case scenario.
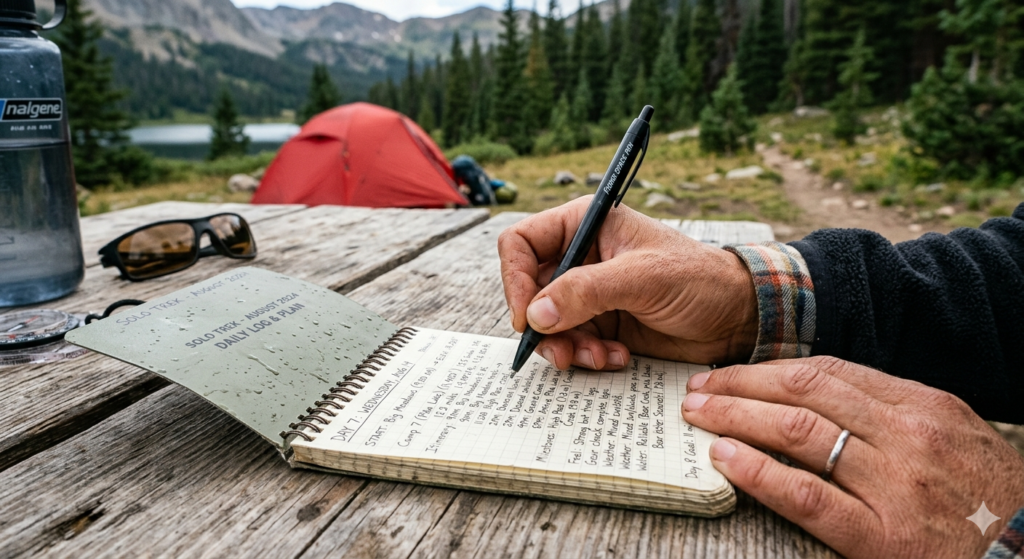
Step 4: Sharing Your Itinerary
As emphasized heavily in our resource on The Complete Guide to Solo Backpacking Safety, your preparation means nothing if no one knows where you are.
Sharing itinerary details with a trusted contact is the absolute most important step of your planning process. Provide them with a written document that includes:
- The trailhead where your car will be parked (and the license plate number).
- Your intended daily route and campsite locations.
- A strict “panic time” (e.g., “If you have not heard from me by 6:00 PM on Sunday, contact the local sheriff’s department”).
Conclusion
Mastering solo backpacking trip planning transforms the intimidating prospect of a solo hike into a highly manageable, logical process. By executing conservative route planning, confirming reliable bailout points, utilizing advanced weather checking, and leaving a rock-solid itinerary at home, you remove the guesswork from the wilderness. When the logistics are dialed in, you are free to truly relax and enjoy the incredible solitude of the trail.
Frequently Asked Questions (FAQ)
1. How many miles should I plan for my first solo trip?
Keep it low. If you normally hike 15 miles a day in a group, aim for 8 to 10 miles for your first solo overnight. The focus should be on building confidence and managing camp alone, not physical exhaustion.
2. How do I plan my water sources for a solo trip?
Use recent trail reports (like those found on apps or local ranger station websites) to confirm which creeks and springs are currently flowing. Never assume a blue line on a map has water in late summer. Mark these confirmed sources on your map during your planning phase.
3. What is the best way to leave my itinerary with someone?
Email a digital copy to two trusted friends or family members, and leave a physical printed copy on the dashboard of your car at the trailhead for search and rescue personnel to find quickly if a search is initiated.
4. Do I need special permits for solo backpacking?
Permit requirements are based on the land management agency (e.g., National Park vs. National Forest), not your group size. However, solitary hikers must follow the exact same permit, bear canister, and campfire regulations as large groups. Always check local agency websites during your planning phase.